
Introduction
Products Live View
Now we are going to create a new live view to display our list of products! If you haven’t seen a live-view before, it may blow your mind.
To create our live-view we are going to use Phoenix generators to scaffold the basics of our app.
mix phx.gen.live Store Product products \
  amount:integer \
  description:text \
  name:string \
  stock:integer \
  thumbnail:text
This will create a bunch of files. Feel free to explore them now. Follow the output instructions to add the routes to lib/amazin_web/router.ex —
scope "/", AmazinWeb do
  pipe_through :browser

   get "/", PageController, :index

+  live "/products", ProductLive.Index, :index
+  live "/products/new", ProductLive.Index, :new
+  live "/products/:id/edit", ProductLive.Index, :edit

+  live "/products/:id", ProductLive.Show, :show
+  live "/products/:id/show/edit", ProductLive.Show, :edit
end
Run migrations —
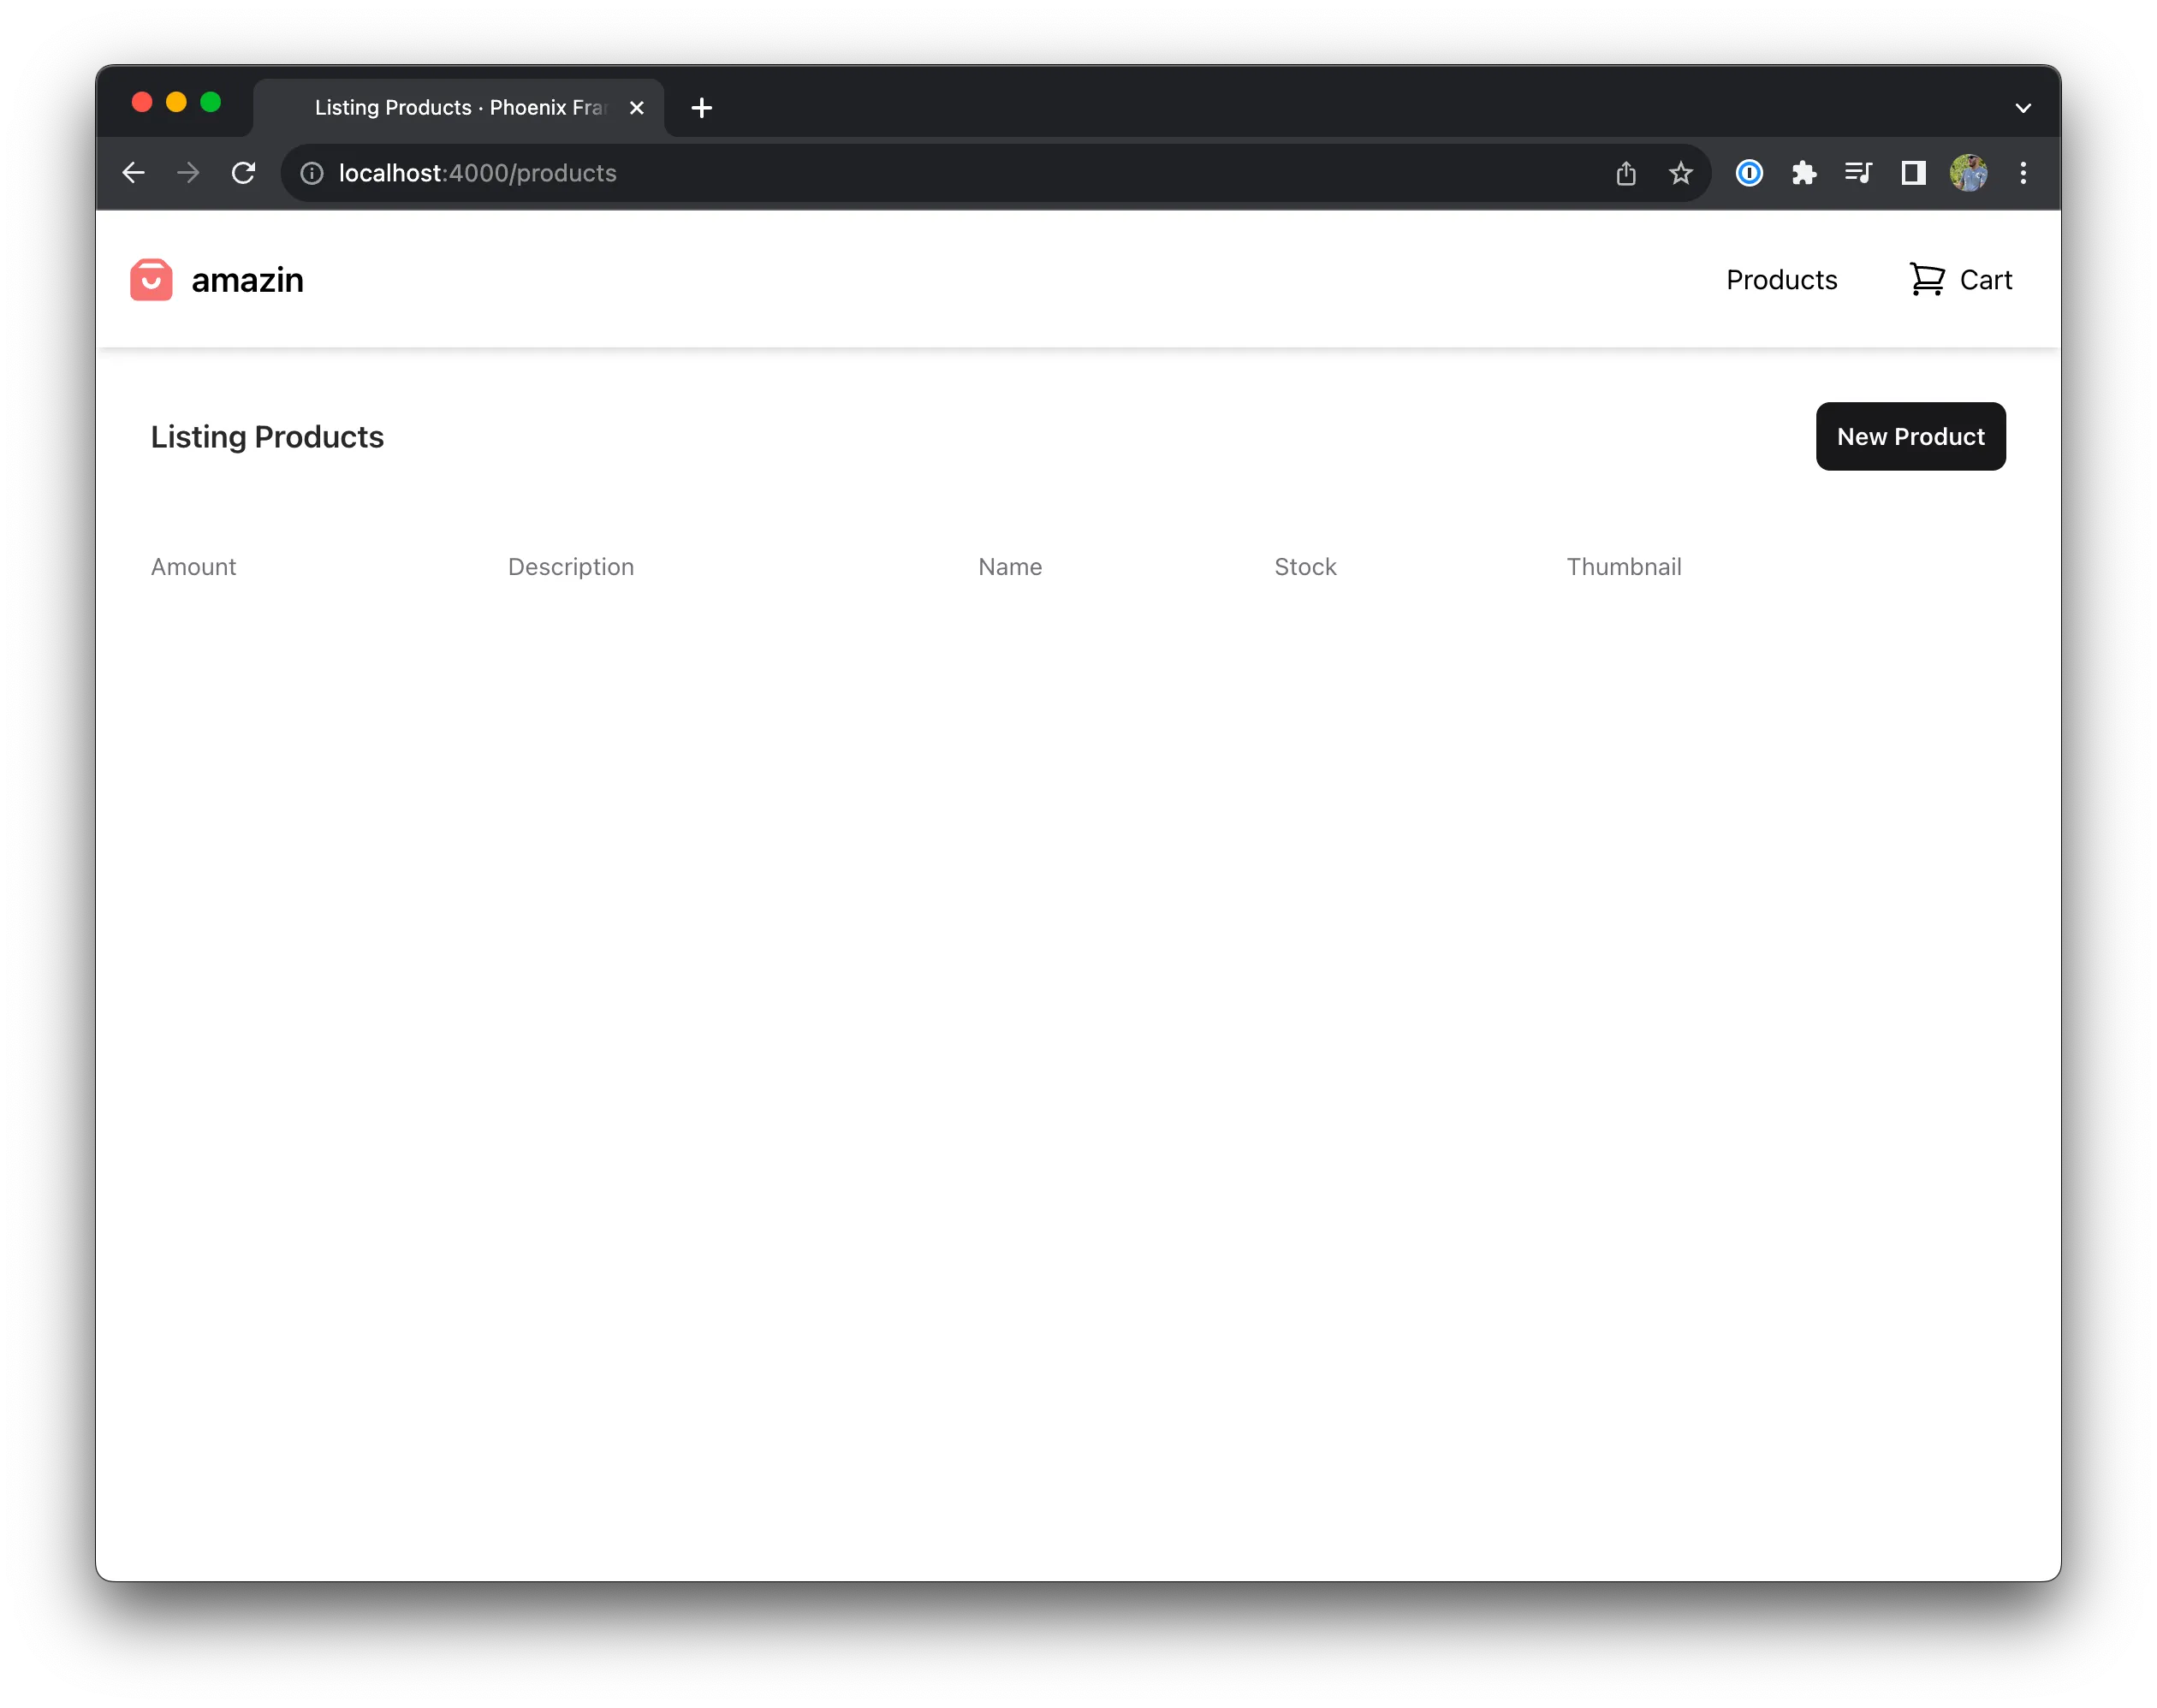
mix ecto.migrateFinally, if you start up the server again and go to
http://localhost:4000/products,
you should see a bare page with your navbar, list of products, and “new product” button.
Go ahead and add a product with the New Product button. Enter product details —
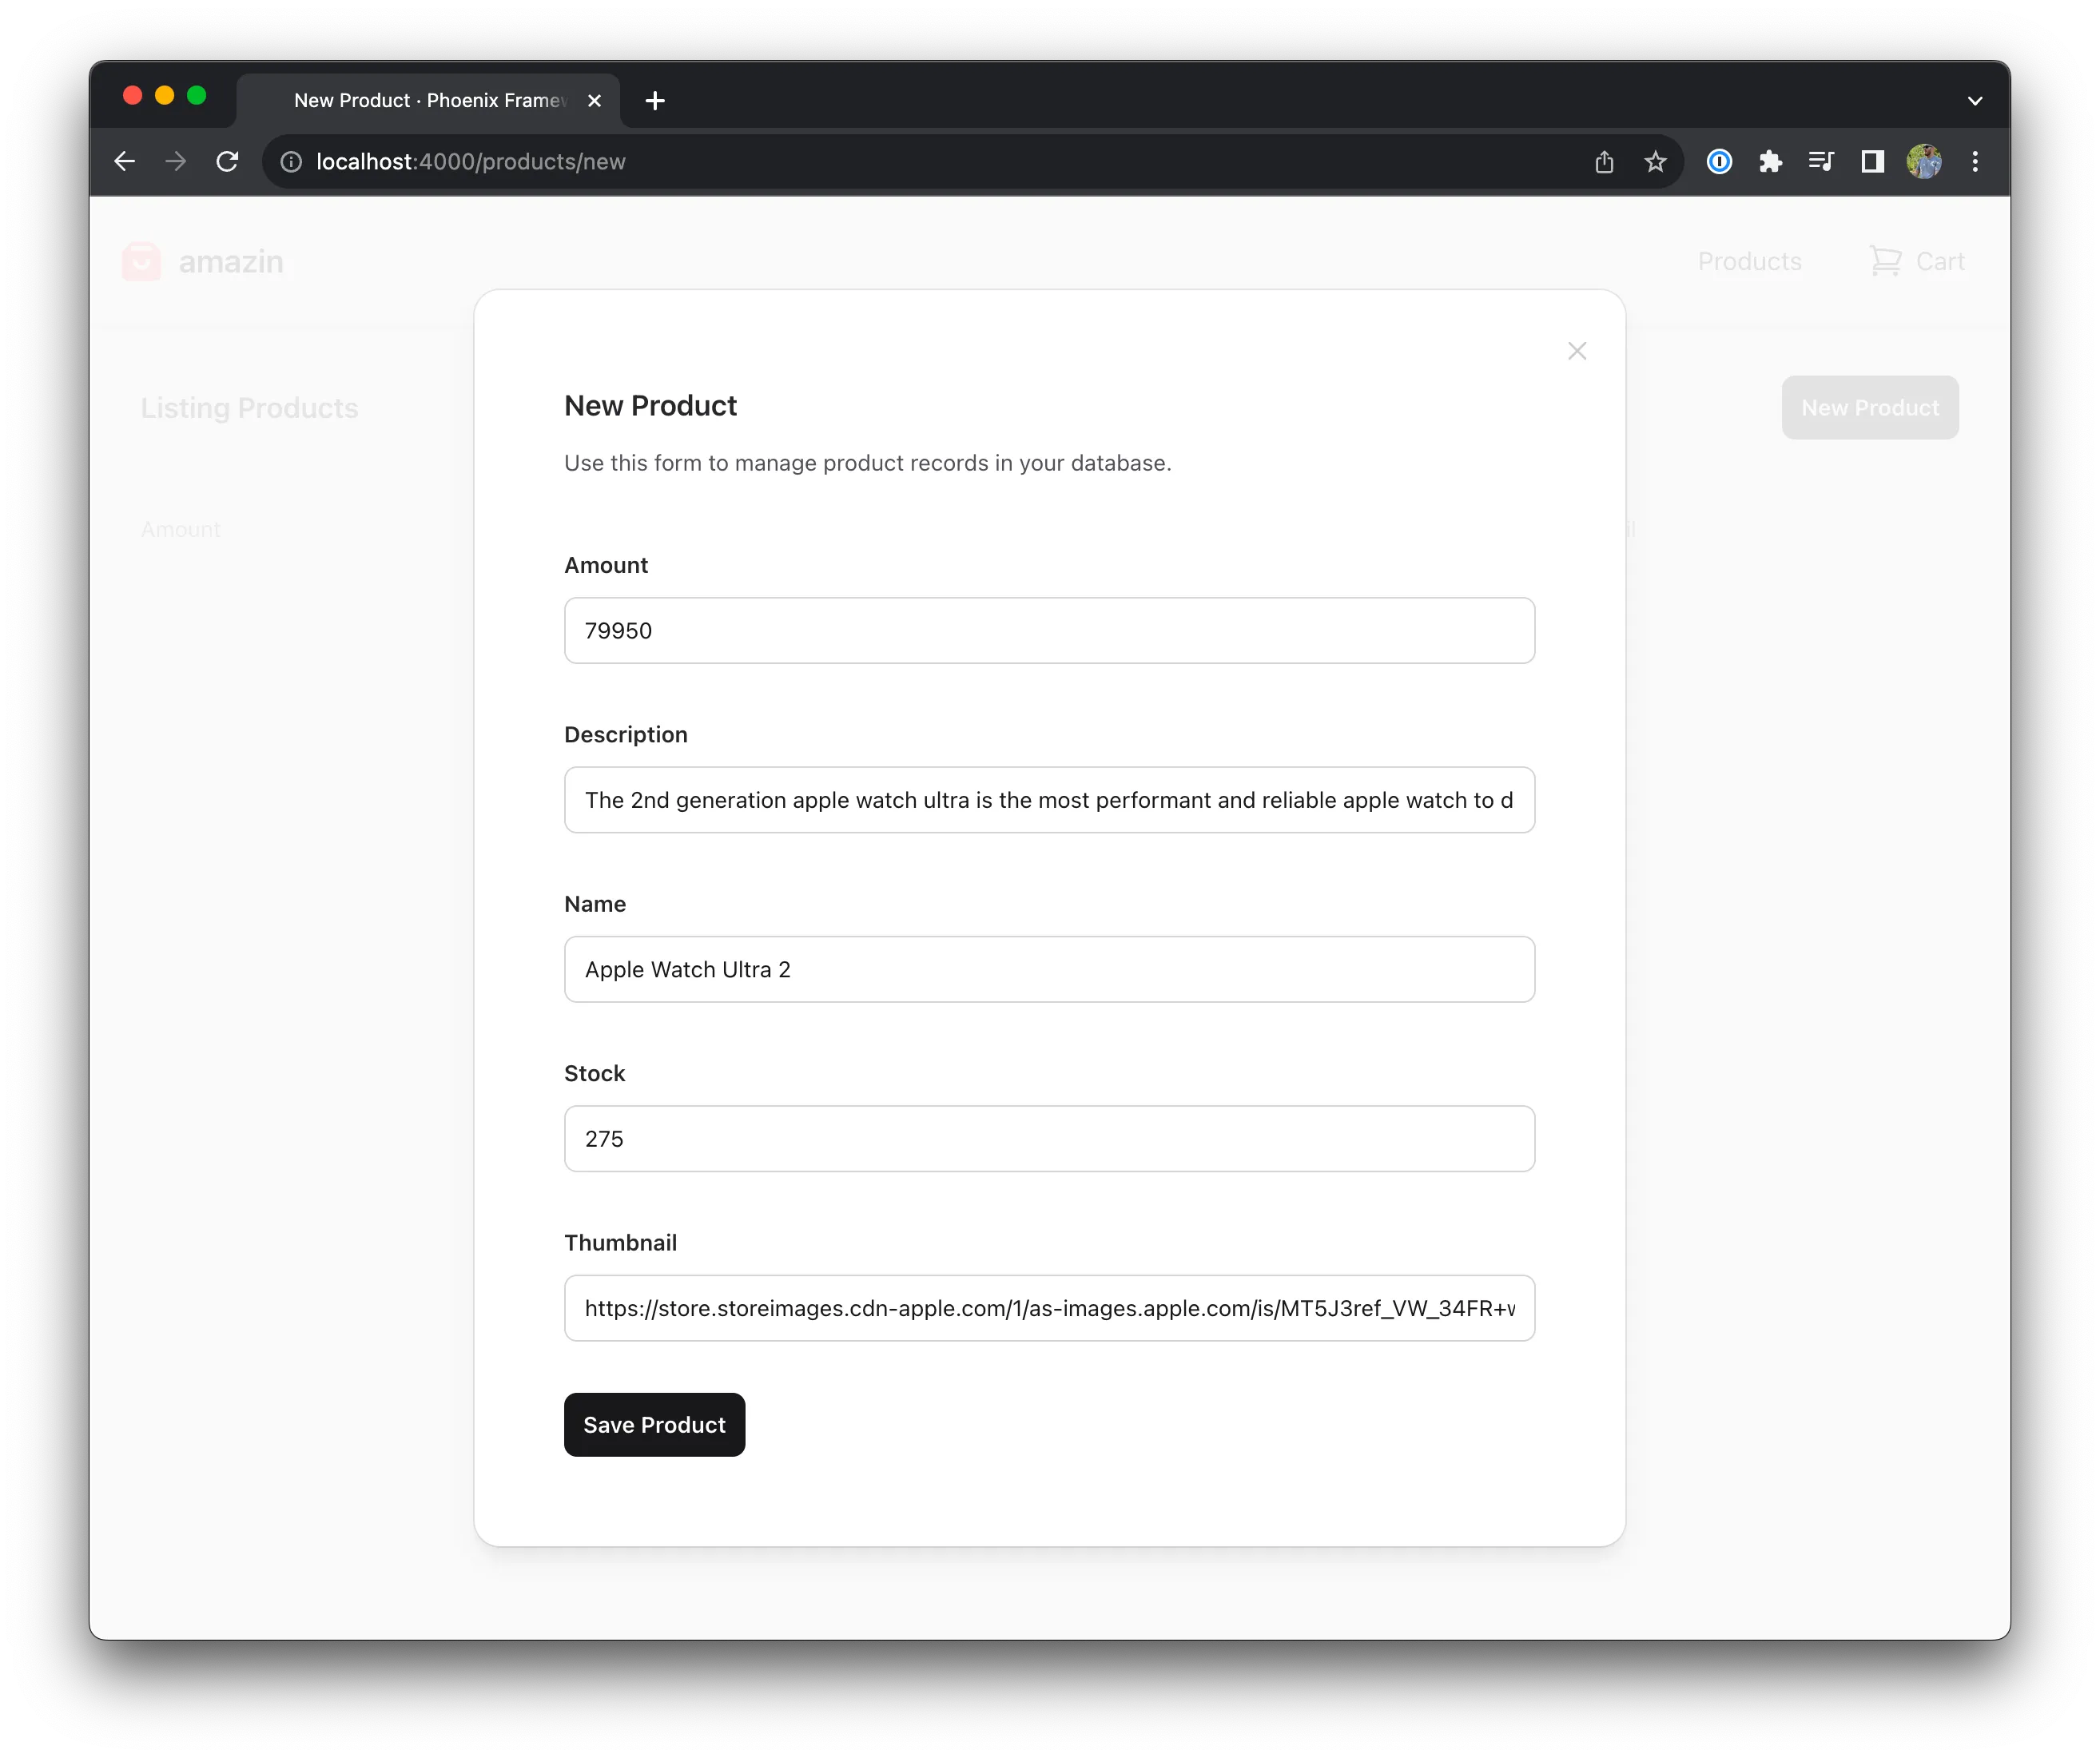
Then save the product —
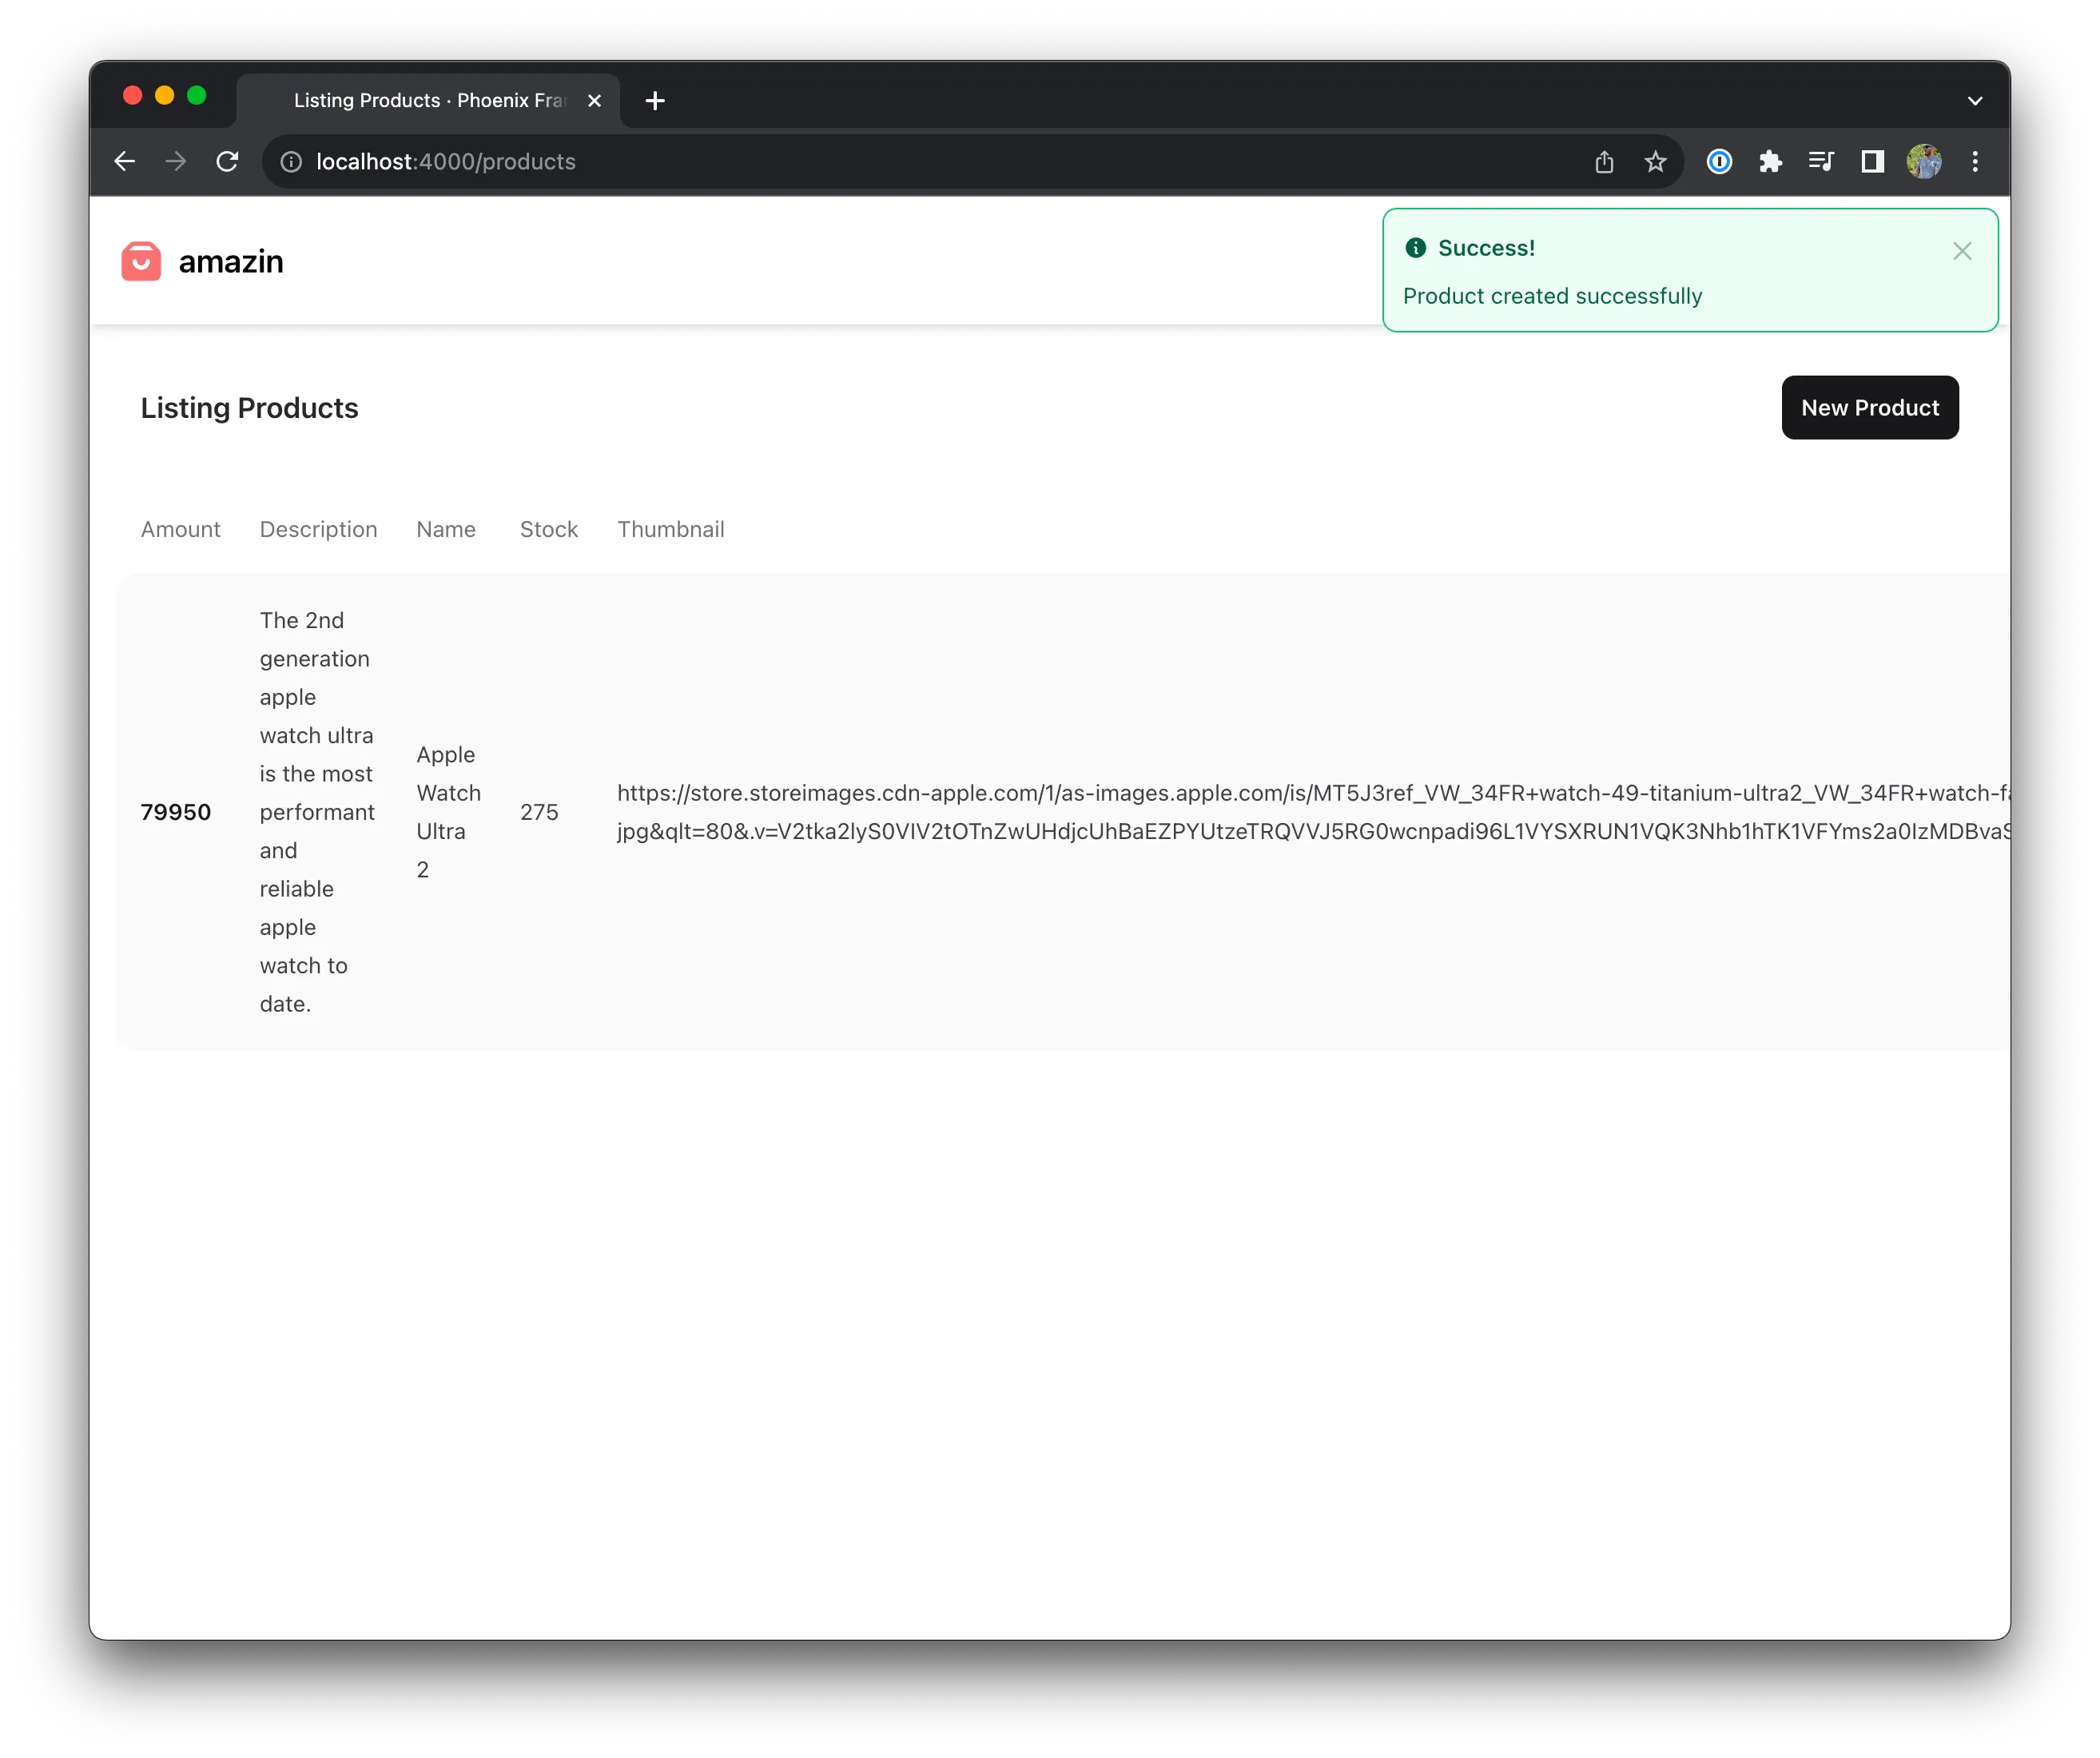
This isn’t the prettiest list. Let’s make it better!
Update the markup for the product list page —
<.header>
All Products
<:actions>
<.link patch={~p"/products/new"}>
<.button>New Product</.button>
</.link>
</:actions>
</.header>
<div
class="grid grid-cols-1 sm:grid-cols-2 md:grid-cols-3 lg:grid-cols-4 gap-12 p-12 max-w-7xl mx-auto"
id="products"
phx-update="stream">
<div
:for={{dom_id, product} <- @streams.products}
id={dom_id}
class="flex flex-col bg-white hover:bg-gray-100 cursor-pointer border border-gray-400 shadow rounded-lg"
phx-click={JS.navigate(~p"/products/#{product}")}
>
<img
class="grow p-6 object-contain"
src={product.thumbnail}
title={product.name}
alt={product.name}
/>
<div class="px-6 py-4 border-t border-gray-400">
<h3 class="text-lg leading-6 font-medium text-gray-900 pb-2">
<%= product.name %>
</h3>
<p class="text-sm text-gray-500"><%= product.description %></p>
</div>
<div class="px-6 py-4 border-t border-gray-400">
<%= product.stock %> remaining
</div>
<div class="p-6 py-4 border-t border-gray-400 text-xl">
<div class="flex flex-col items-left">
<%= Money.new(product.amount) %>
<button
phx-click="add_to_cart"
phx-value-id={product.id}
class="focus:outline-none focus:shadow-outline text-sm bg-blue-500 hover:bg-blue-600 text-white py-2 px-4 mt-2 rounded"
>
Add to Cart
</button>
</div>
</div>
</div>
</div>
<.modal :if={@live_action == :new} id="product-modal" show on_cancel={JS.patch(~p"/products")}>
<.live_component
module={AmazinWeb.ProductLive.FormComponent}
id={:new}
title={@page_title}
action={@live_action}
product={@product}
patch={~p"/products"}
/>
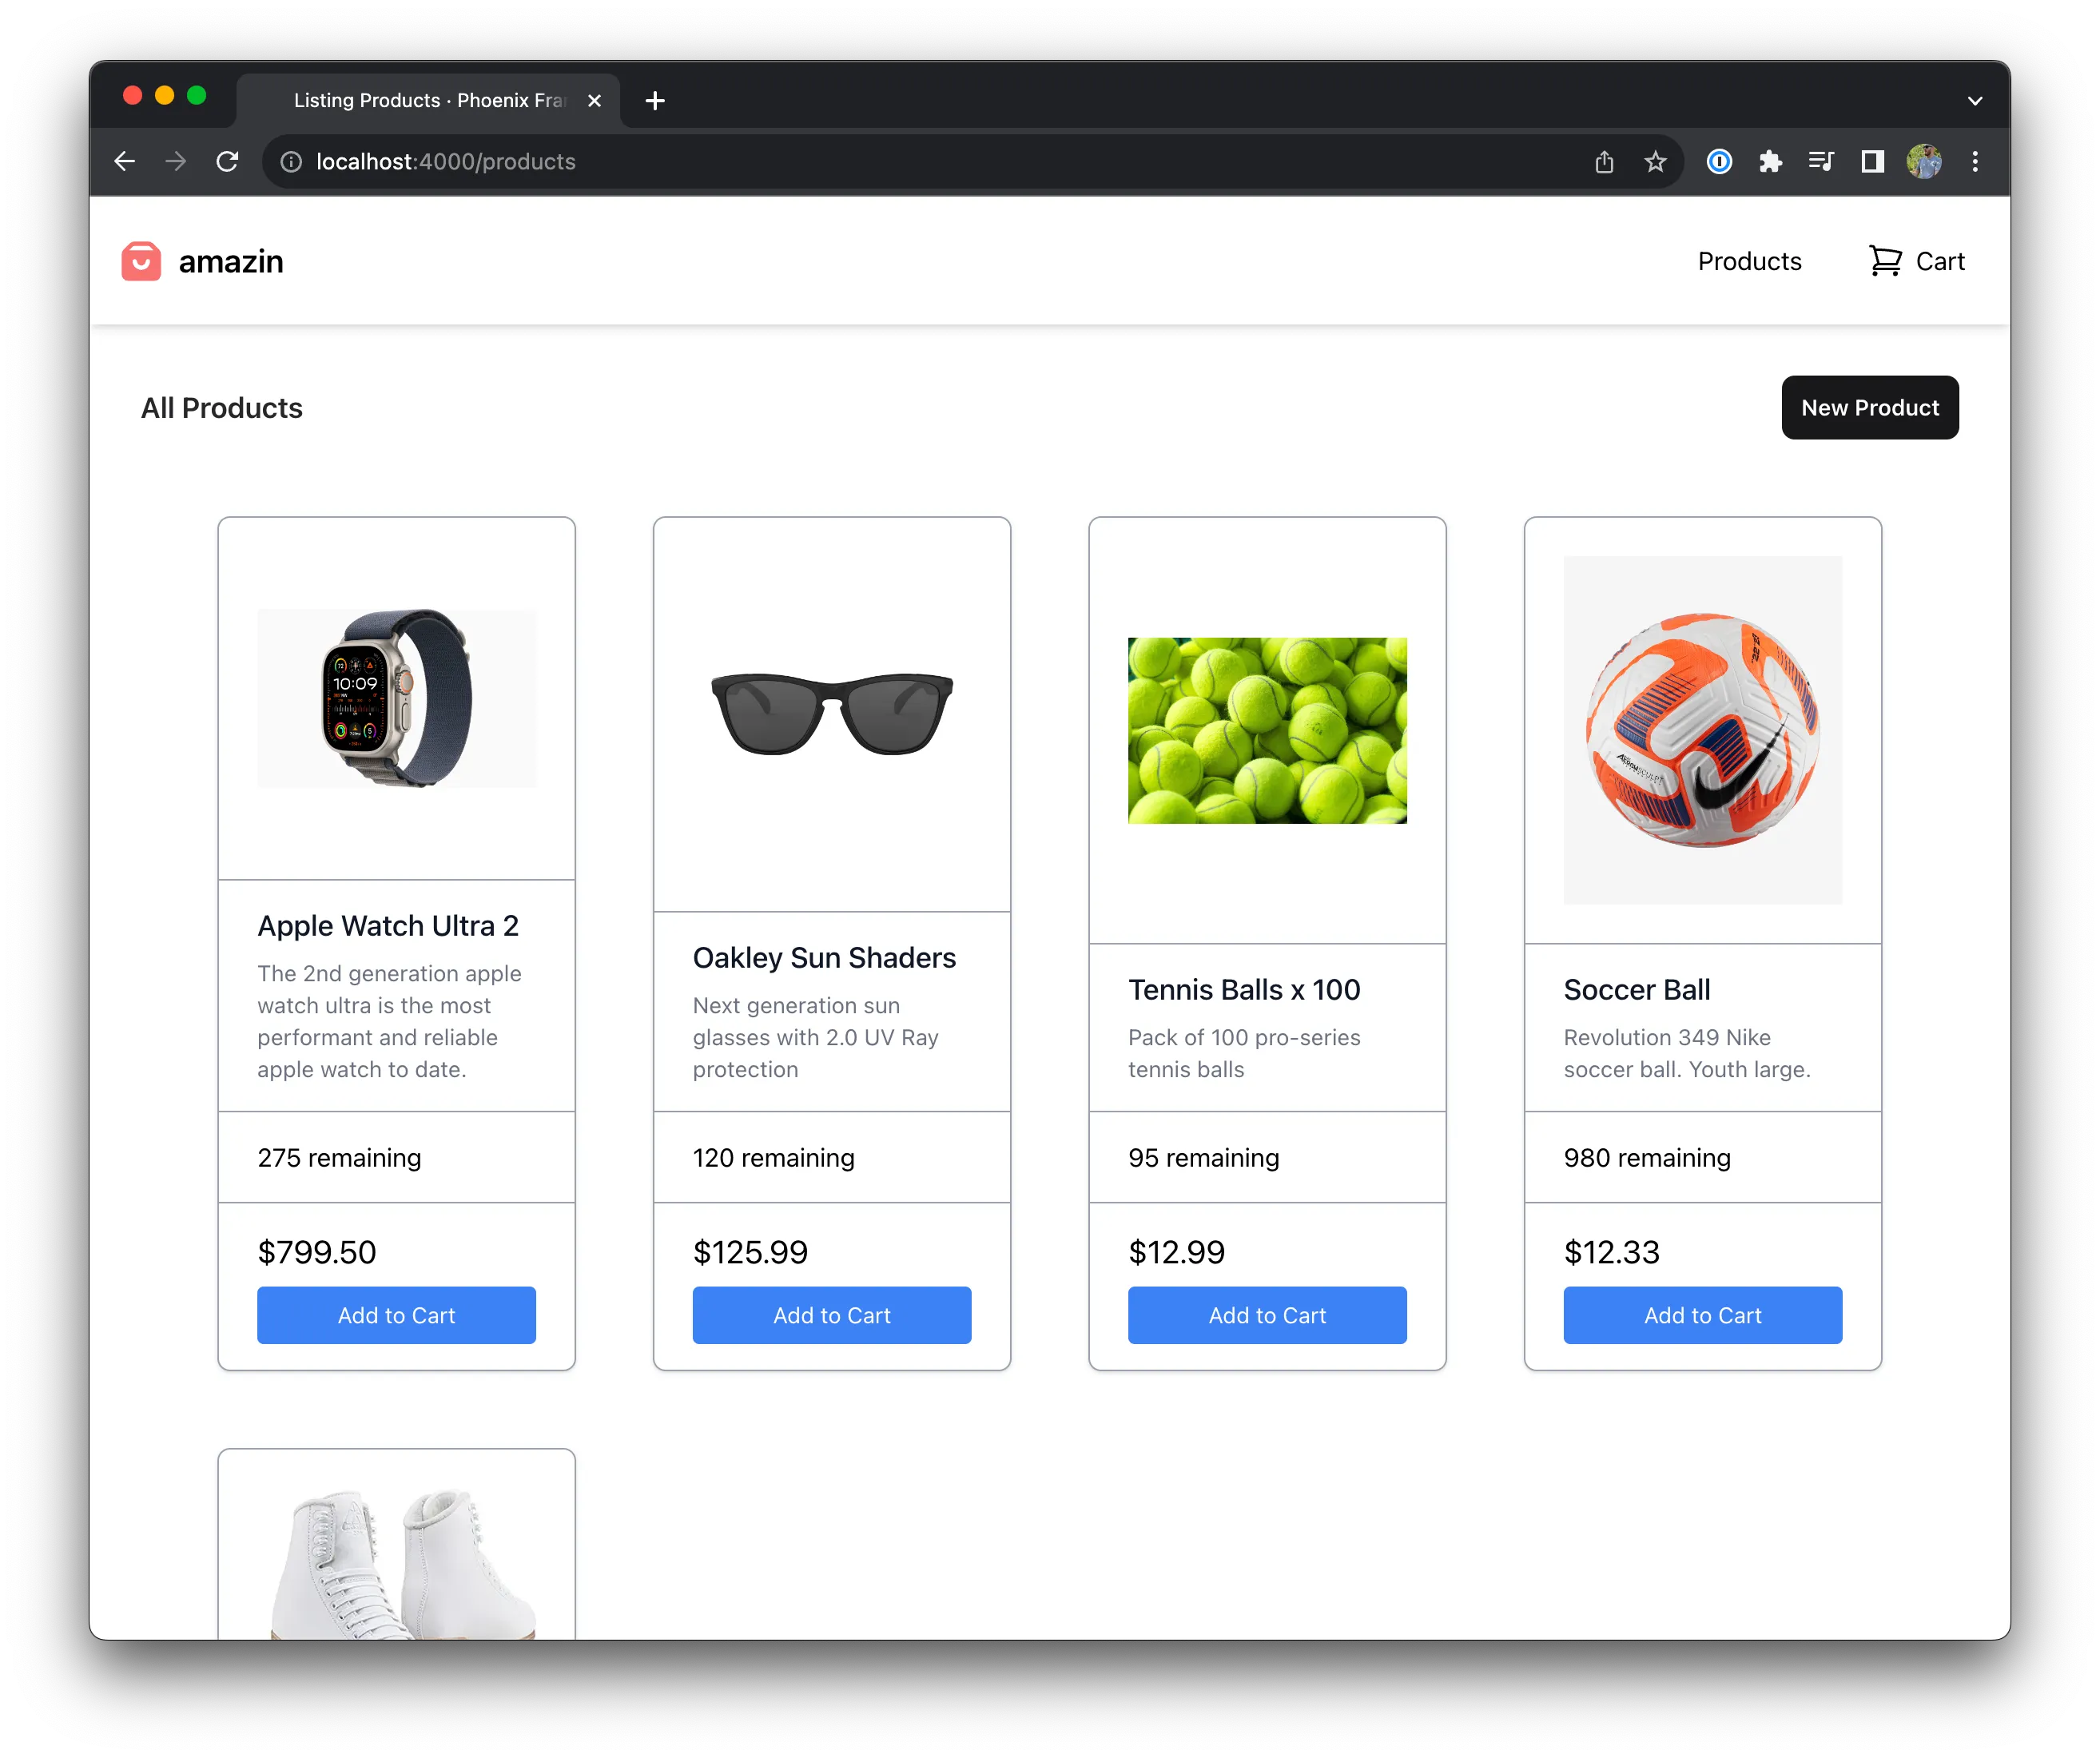
</.modal>Add a few more products, and your product page is starting to look really nice —
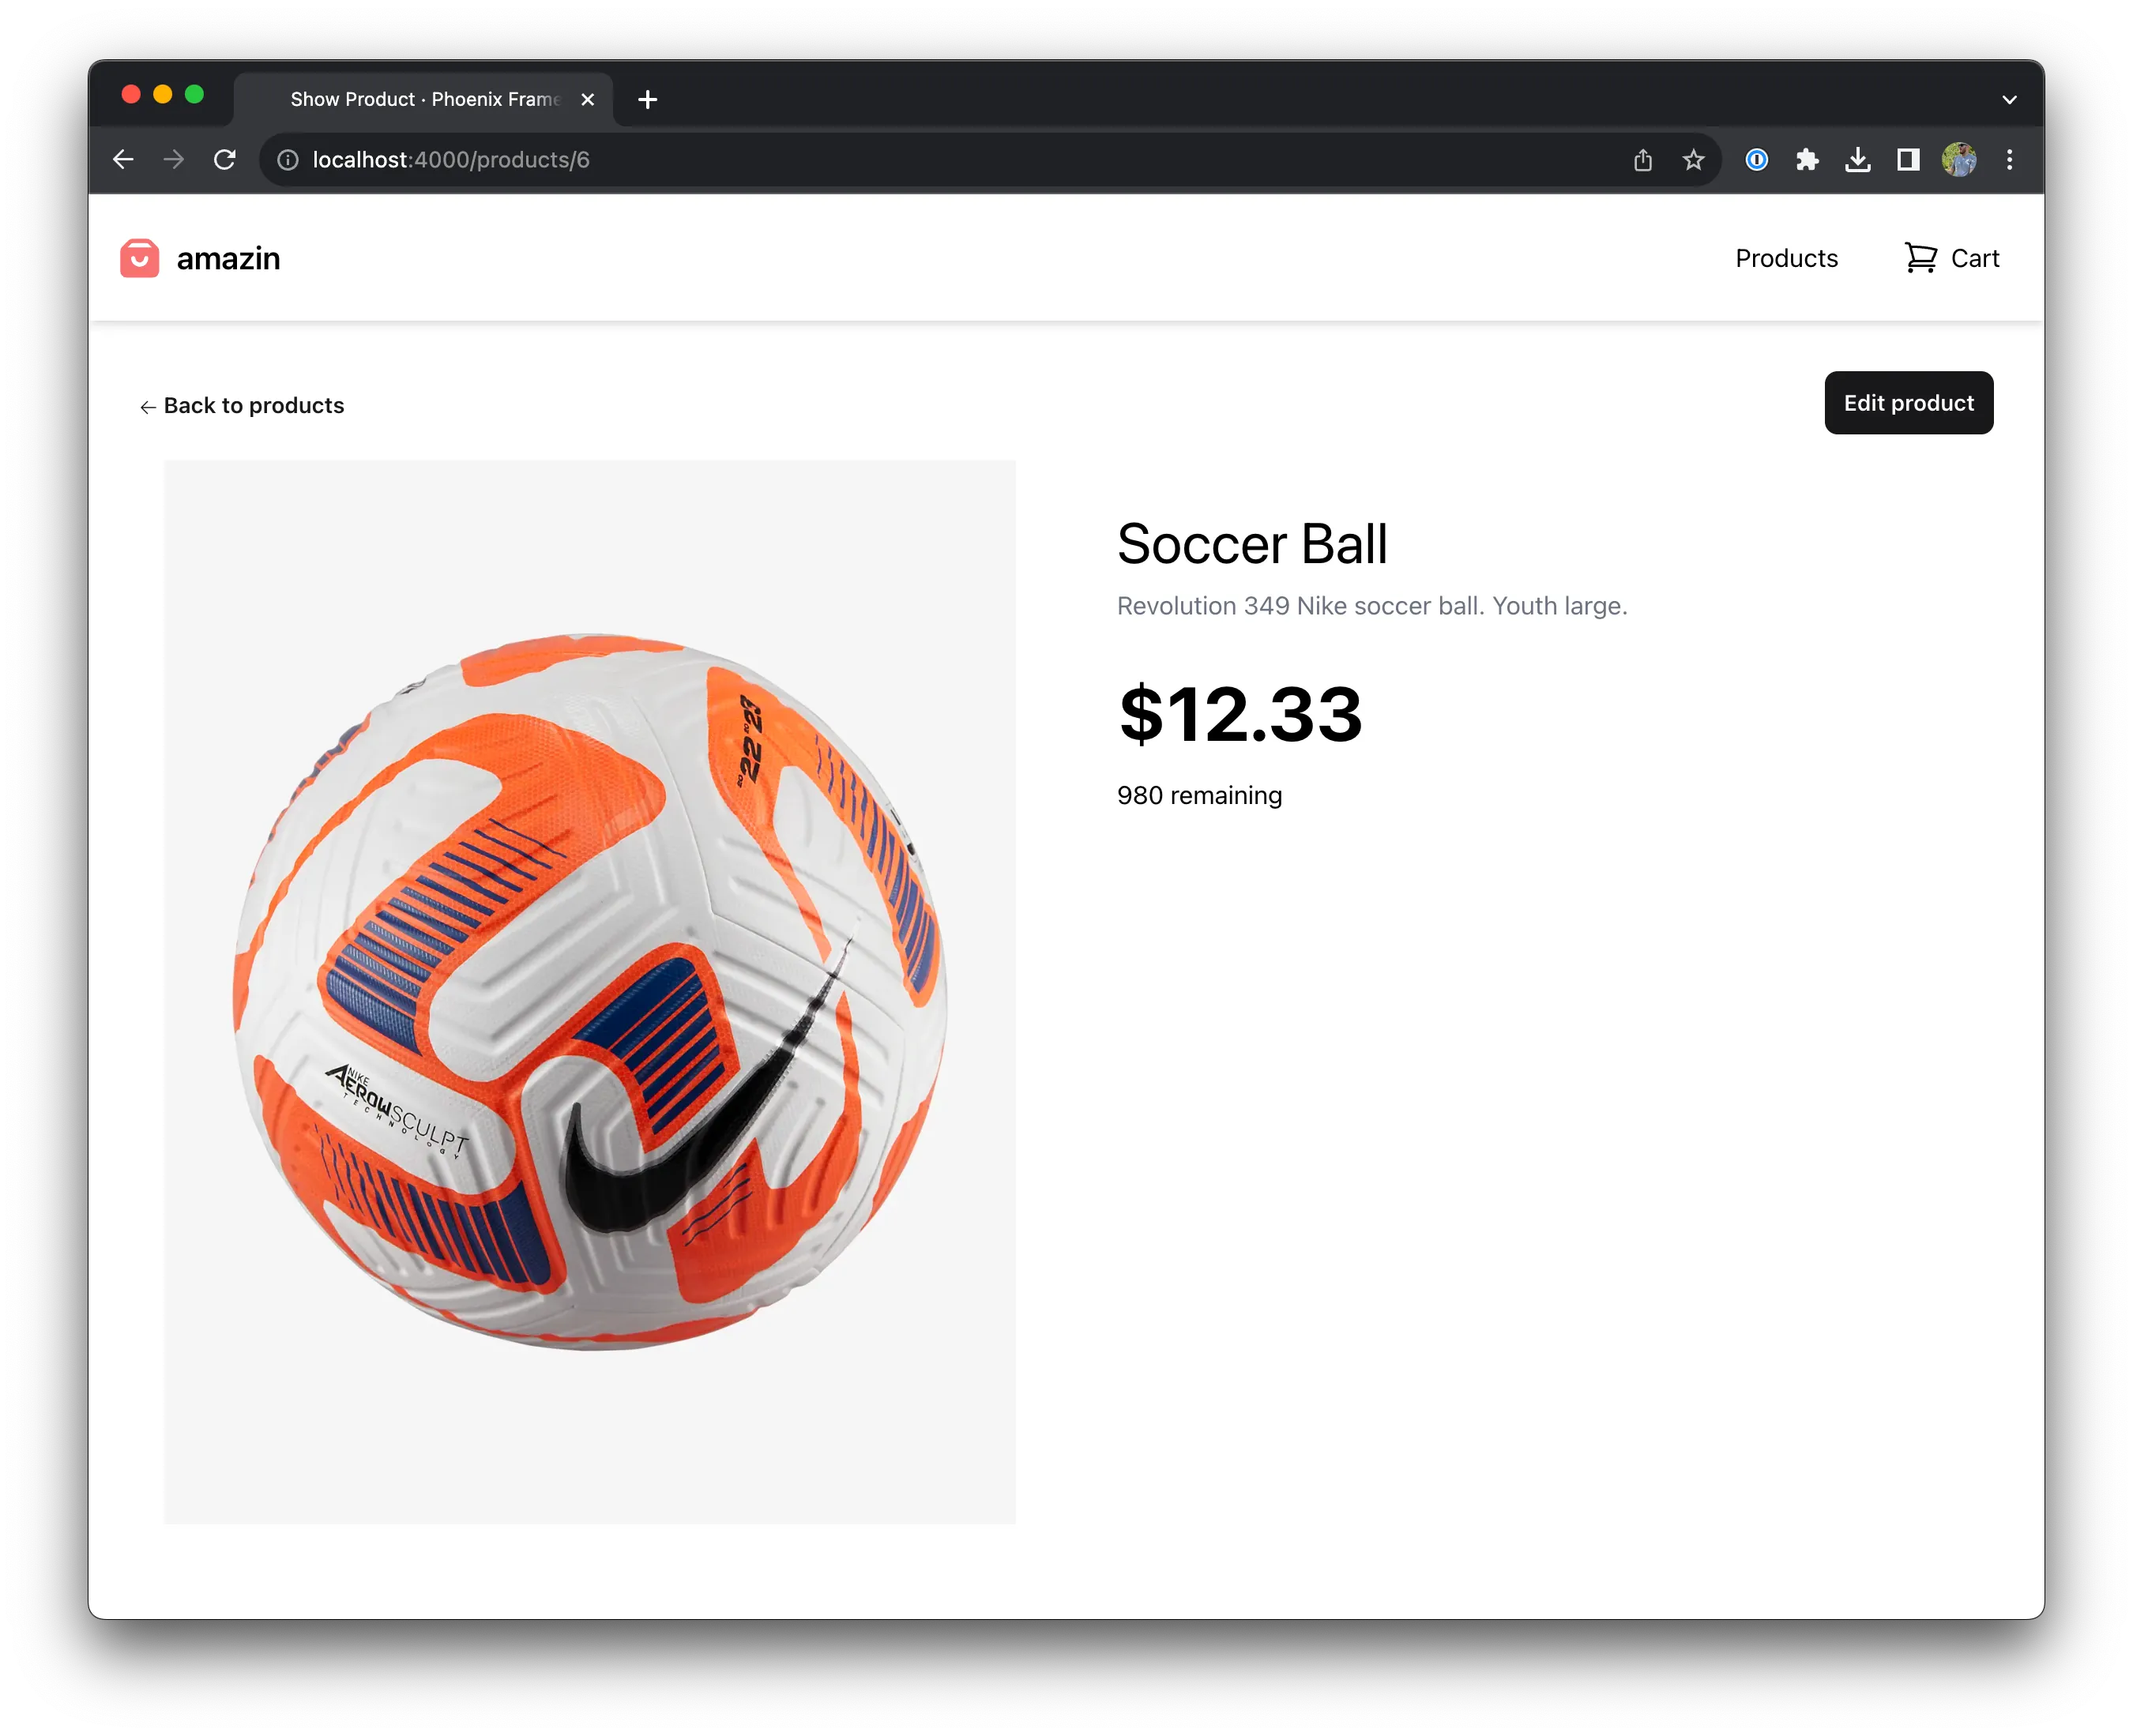
Lastly lets just update the product details page to be a bit more appealing —
<.header>
  <.link
    navigate={~p"/products"}
    class="text-sm font-semibold leading-6 text-zinc-900 hover:text-zinc-700"
  >
    <.icon name="hero-arrow-left-solid" class="h-3 w-3" /> Back to products
  </.link>
  <:actions>
    <.link patch={~p"/products/#{@product}/show/edit"} phx-click={JS.push_focus()}>
      <.button>Edit product</.button>
    </.link>
  </:actions>
</.header>

<div class="grid grid-cols-2 gap-16 p-4">
  <img
    class="grow object-contain"
    src={@product.thumbnail}
    title={@product.name}
    alt={@product.name}
  />
  <div class="pt-8">
    <h1 class="text-4xl pb-2"><%= @product.name %></h1>
    <div class="text-gray-500 pb-8"><%= @product.description %></div>
    <div class="font-bold text-5xl"><%= Money.new(@product.amount) %></div>
    <div><%= @product.stock %> remaining</div>
  </div>
</div>

<.modal
  :if={@live_action == :edit}
  id="product-modal"
  show
  on_cancel={JS.patch(~p"/products/#{@product}")}
>
  <.live_component
    module={AmazinWeb.ProductLive.FormComponent}
    id={@product.id}
    title={@page_title}
    action={@live_action}
    product={@product}
    patch={~p"/products/#{@product}"}
  />
</.modal>
Then it should look a bit nicer, like so —
Reactive UI
We want the live-view to update itself when relevent events occur. Theres alot of ways we could accomplish that; but turns out phoenix ships with a really nice way out of the box: Phoenix.PubSub!
First we need to make a quick stop in our Store context to setup our events. We’ll Use Phoenix.PubSub to create a reactive UI so that our live-view will auto-update certain domain events occur —
defmodule Amazin.Store do
  # ... Removed for brevity

  @doc """
  Subscribes you to product events.

  ## Examples

      iex> subscribe_to_product_events()
      :ok

  """
  def subscribe_to_product_events do
    Phoenix.PubSub.subscribe(Amazin.PubSub, "products")
  end

  @doc """
  Broadcast a product event.

  ## Examples

      iex> broadcast_product_event(:product_updated, %Stripe.Product{})
      :ok

  """
  def broadcast_product_event(event, product) do
    Phoenix.PubSub.broadcast(Amazin.PubSub, "products", {event, product})
  end
end
Important parts to notice here are the Phoenix.PubSub.broadcast/3 call that broadcasts a generic :product_updated event and the subscribe_to_product_events/0 function.
Now we want to broadcast events for our view to use. Update the Store.create_product/2 and Store.update_product/2 functions to broadcast events.
defmodule Amazin.Store do
  # ... Removed for brevity

  @doc """
  Creates a product.

  ## Examples

      iex> create_product(%{field: value})
      {:ok, %Product{}}

      iex> create_product(%{field: bad_value})
      {:error, %Ecto.Changeset{}}

  """
  def create_product(attrs \\ %{}) do
    result =
      %Product{}
      |> Product.changeset(attrs)
      |> Repo.insert()

    case result do
      {:ok, new_product} ->
        broadcast_product_event(:product_created, new_product)
        {:ok, new_product}

      error ->
        error
    end
  end

  @doc """
  Updates a product.

  ## Examples

      iex> update_product(product, %{field: new_value})
      {:ok, %Product{}}

      iex> update_product(product, %{field: bad_value})
      {:error, %Ecto.Changeset{}}

  """
  def update_product(%Product{} = product, attrs) do
    result =
      product
      |> Product.changeset(attrs)
      |> Repo.update()

    case result do
      {:ok, updated_product} ->
        broadcast_product_event(:product_updated, updated_product)
        {:ok, updated_product}

      error ->
        error
    end
  end

  # ... Removed for brevity
end
When our live-view mounts we want to subscribe our view to any product events. If we get notified of
any events via Pheonix.PubSub.broadcast/2, the handle_info/2 function in the module is called.
Lets replace our mount function and add handle_info functions to our product grid live view —
defmodule AmazinWeb.ProductLive.Index do
  # ... Removed for brevity

  @impl true
  def mount(_params, _session, socket) do
    if connected?(socket), do: Store.subscribe_to_product_events()

    {:ok, stream(socket, :products, Store.list_products())}
  end

  # ... Removed for brevity

  @impl true
  def handle_info({:product_updated, updated_product}, socket) do
    {:noreply, stream_insert(socket, :products, updated_product)}
  end

  @impl true
  def handle_info({:product_created, created_product}, socket) do
    {:noreply, stream_insert(socket, :products, created_product)}
  end

  # ... Removed for brevity
end
It’s worth reading the docs to understand stream_insert/4. It’s doing some powerful things and letting us write less, more delcaritive, code.
Now that everything is wired up to be reactive, you can see the reactivity in action! Open up a two browser window’s side by side of the app. In one window create a new product and you’ll see it magically appear in the other browser window! Edit a product to see the same effect ✨
Finished application on github.